Goals
For Android 10, we were tasked with redesigning the system navigation to be gestural instead of the traditional button navigation. Access to home was one of the most frequently used and visible transitions for system navigation. It was crucial that this gesture felt responsive to users input. In order to do that, we needed to design a transition that allowed the user to feel in control, yet still be consistent. There needed to be a physicality to the gesture unlike any animation previously implemented in Android. In order to meet this goal new designs, workflows and engineering all needed to come together to make one beautiful and seamless transition.
Design
The transition is composed of two main parts the app window animation and the home contents (launcher) animation.
App Window Transition
The primary way users interact with the gesture navigation is by directly manipulating the app window. A fling of the app window collapses it into its app icon (if available) on the home screen. One design consideration was the varying positions app icons can take on the home screen. The motion path the window follows needed to feel consistent regardless of the icon position. In order to create consistency an arced motion path with a vertical drop at the end was designed. This path felt reflective of the users flinging the app into place as well as created a directional motion that flowed into the home contents animating and guided the users focus to the contents on the home screen.
Implementation
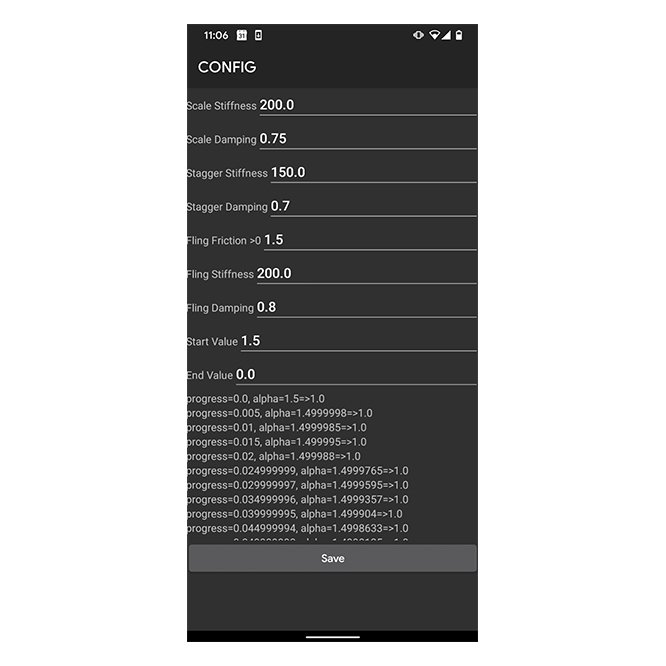
Physics
Creating a physical animation was crucial to this motion feeling responsive to users input. This was created primarily by utilizing springs in Android and combining that with the users fling velocity to create physical and unique animations.
Velocity is key
The primary way to enable an animation to feel physical - is to allow the input velocity to control as many aspects of the motion as possible. So when a user flings we capture the velocity of the fling and then take that number and use that to drive many aspects of the motion.
Velocity can be used to:
Direct the motion path of the window.
Adjust the scale of the window (by influencing the tension of the spring controlling the scale).
Determine how quickly the window travels to its destination (by influencing the tension of the spring bringing the window to its icon position).
Control how much the home screen contents move (by changing the Y transition amount for the home screen contents)